
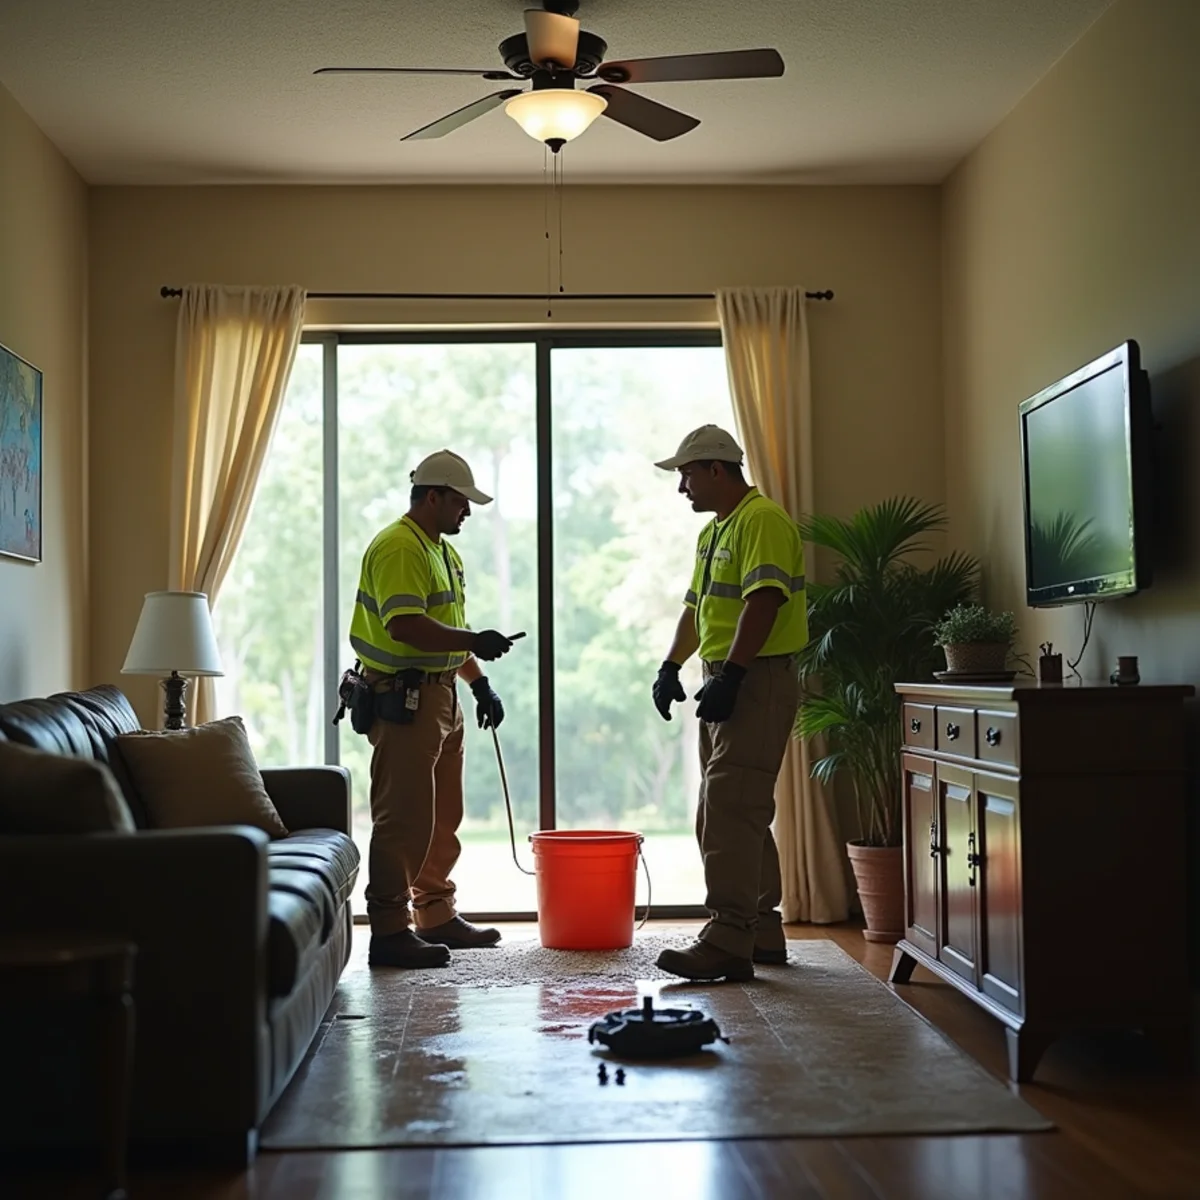
Direct Answer: The Critical 30-Minute Water Containment Protocol
If your roof is actively leaking during a storm, your sole immediate objective is interior damage containment, not ascending the roof surface. First, kill electrical power at your home's circuit breaker panel to any room exhibiting damp ceilings or wet fixtures. Second, place wide catchment containers beneath the drip and carefully relieve ceiling drywall water tension by puncturing the lowest point of any water blister with a screwdriver to drain it cleanly into a bucket. Third, document the active intrusion with date-stamped photo and video recordings, then call a licensed local roofing emergency dispatch line. Under no circumstances should you ever climb onto a wet roof during a Florida rainstorm.
Torrential Gulf squalls and tropical storm bands frequently dump two to four inches of rain per hour across Clearwater and Pinellas County. When high winds tear away hip shingles or breach flashing assemblies, water travels along rafters before dropping onto sheetrock. Taking immediate, systematic action inside the house prevents soaked drywall from collapsing under hydraulic weight, spares hardwood or carpet flooring, and establishes uncontestable evidence for your property insurer.
Step 1: Eliminate Electrical Shock and Fire Hazards
Water conducts electrical current with lethal efficiency. In Pinellas County homes, roof leaks rarely drop straight down; instead, intruding water sheets along roof trusses and ceiling drywall until it discovers mechanical openings such as recessed can lights, ceiling fan mounting brackets, smoke alarms, or chandelier junction boxes.
If you observe water seeping around a lighting fixture or dripping from an electrical outlet, do not touch the fixture or wall switch. Navigate immediately to your home's main electrical service panel and trip the circuit breakers supplying those specific rooms. If water is widespread or pooling near the breaker enclosure itself, stand on dry ground and trip the main disconnect breaker.
- Locate your main breaker panel and identify circuits labeled for the affected bedrooms, living areas, or hallways.
- Trip breakers firmly to the OFF position before touching damp walls or moving metal appliances.
- Never handle electrical cords or unplug appliances while standing in puddle water or damp carpeting.
- If your breaker box shows any sign of moisture or sizzling sounds, evacuate immediately and call emergency utility services.

Need Immediate Guidance on Your Clearwater Roof?
Speak with our local coordinator at (773) 207-0769. Open 24/7 with rapid Pinellas County response.
Step 2: Relieve Ceiling Drywall Pressure to Prevent Massive Collapse
When rainwater penetrates roof decking and attic fiberglass batt or blown-in cellulose insulation, it forms a heavy reservoir across the upper surface of your 1/2-inch gypsum drywall ceiling. As sheetrock absorbs water, its structural binding dissolves, creating a sagging belly that can hold dozens of gallons of water.
If left alone, the saturated drywall will eventually fail catastrophically along the drywall screws, dumping heavy, wet, mold-laden insulation and foul water across hundreds of square feet of flooring and furnishings. You can prevent this collapse by creating a controlled drainage portal. Position a large bucket directly beneath the center of the sagging ceiling bulge. Using a standard screwdriver, awl, or long nail, gently puncture the center of the drywall belly. Water will immediately flow out in a steady, controlled stream into your bucket, relieving ceiling load and preserving the surrounding framing.
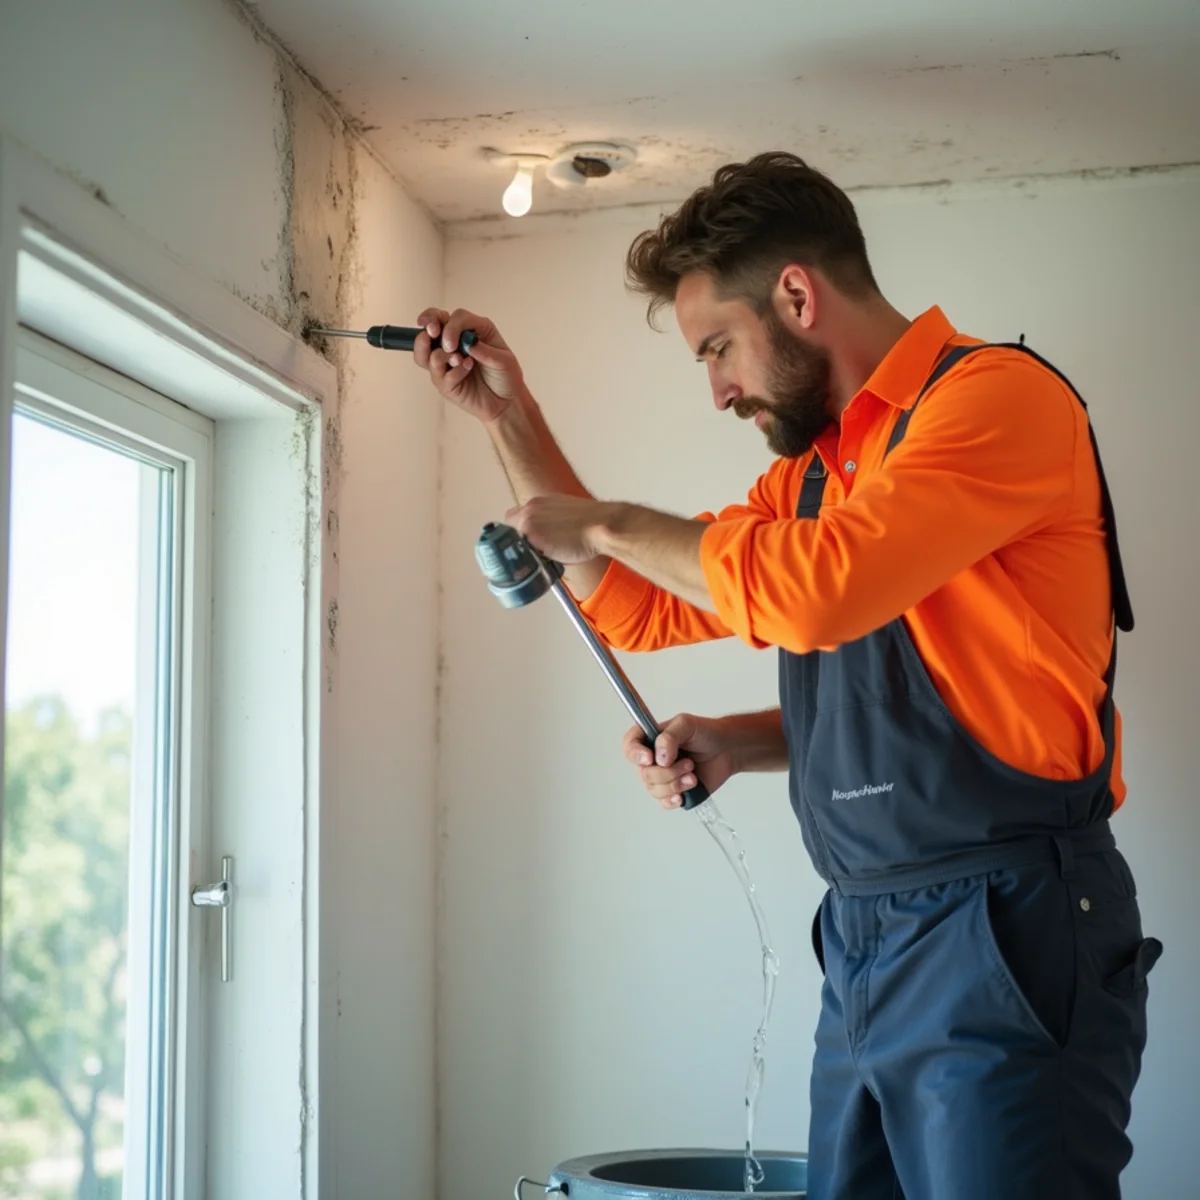
Step 3: Catchment Logistics, Furniture Relocation, and Vapor Barriers
Once ceiling pressure has been relieved, optimize your water catchment system. Plastic 5-gallon buckets, storage totes, and wide cooking pots are ideal. To prevent falling water droplets from splashing dirty water onto nearby baseboards and wood floors, drape an old bath towel or washcloth across the bottom of the container to cushion the impact.
Immediately clear furniture, electronics, rugs, and sentimental valuables out of the affected space. For massive pieces such as entertainment centers or heavy oak dressers that cannot be relocated quickly, elevate the legs onto plastic food container lids, heavy aluminum foil squares, or thick plastic tarps to prevent wood stains from leaching into wet carpet fibers and timber legs from swelling.

Step 4: Capture Photo and Video Evidence for Insurance Documentation
Before mopping up standing water or removing saturated materials, thoroughly document the incident. Florida property insurance carriers require verifiable proof that water intrusion resulted from a sudden and accidental opening in the roofing envelope caused by wind or storm debris, rather than chronic deferred maintenance.
Capture continuous, wide-angle video footage showing the active dripping water, the ceiling puncture, saturated flooring, and all affected personal property. Take close-up, high-resolution photographs with date-and-time stamps enabled. Keep all damaged items stored in a dry garage or covered porch rather than throwing them away, allowing the insurance adjuster to physically inspect every damaged item.

Why Rooftop Operations During Storms Are Strictly Prohibited by OSHA & Physics
The instinct to climb onto the roof with a blue tarp during a downpour is understandable, but it is one of the most hazardous choices a homeowner can make. Wet asphalt shingles, mossy concrete tiles, and low-slope membranes become frictionless sheets when saturated. In addition, localized wind gusts during Florida thunderstorms frequently exceed 45 to 60 miles per hour, turning a 10x12 poly tarp into an uncontrollable sail that can easily drag an adult off the roof edge.
Moreover, unseen water intrusion frequently softens plywood sheathing. Stepping onto saturated decking can cause sudden structural breakthrough into attic framing. Professional roofing crews wait until lightning and gale-force wind gusts pass, utilizing OSHA-compliant anchor harnesses, roof jacks, and slip-resistant footwear to stage emergency tarps safely.
Emergency Containment vs. Permanent Code-Compliant Repair
Homeowners must distinguish between emergency containment and permanent restoration. An emergency tarp or sandbag stabilization stops active water intrusion, fulfilling your insurance policy's legal 'duty to mitigate damages.' However, it does not solve rotted plywood, ruined underlayment, or damaged flashing assemblies.
| Phase | Primary Goal | Key Materials Used | Expected Lifespan | Florida Permitting Required? |
|---|---|---|---|---|
| Emergency Containment | Halt water intrusion & protect interior | 10-mil woven tarp, 2x4 furring strips, screws | 30 to 90 days max | No permit required |
| Dry-In & Tarping Certification | Insurer proof of mitigation & stabilization | UV-resistant membrane or shrink-wrap | 6 to 12 months | No permit required |
| Decking & Flashing Repair | Replace rotted 1/2-inch CDX sheathing | APA-rated sheathing, peel-and-stick underlayment | 20 to 30 years | Permit required if >100 sq ft |
| Permanent Reroof / Recovery | Full Florida Building Code compliance | Class 4 shingles, concrete tiles, or standing seam | 25 to 50+ years | Mandatory building permit & inspection |